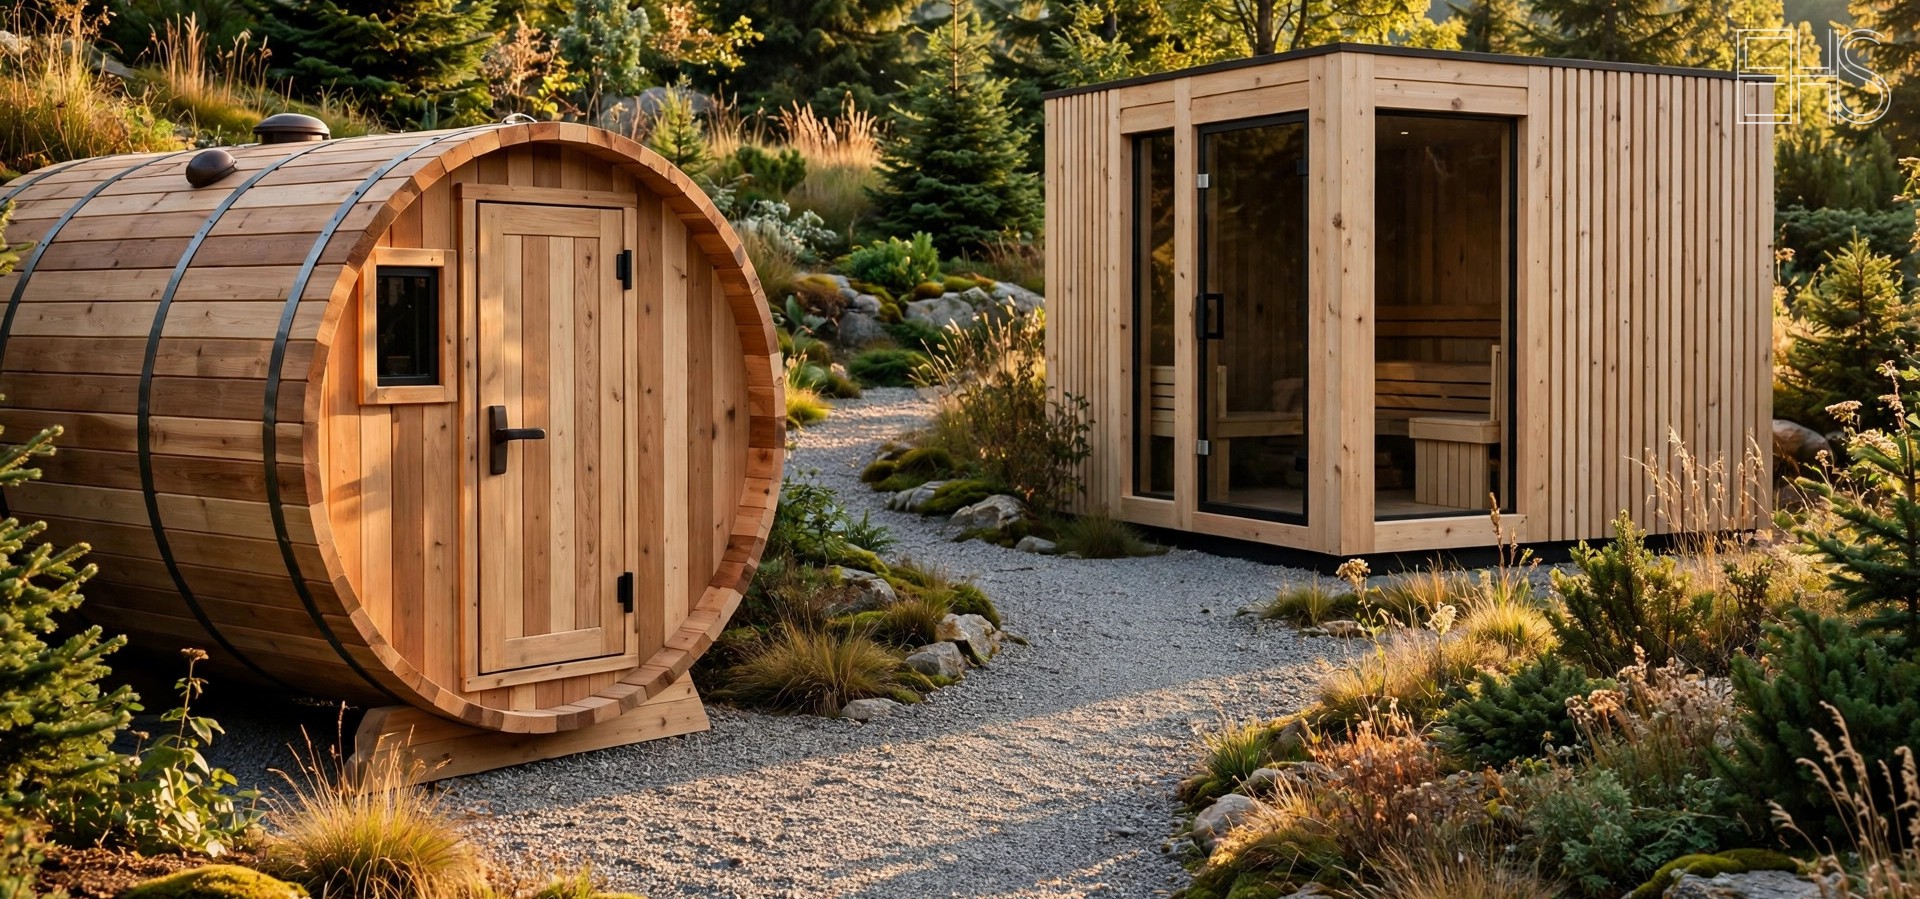
Buying the sauna is the exciting part. Installing it is the part that determines whether it works properly, lasts decades, and passes inspection. Most sauna disappointments trace back to installation shortcuts: an undersized circuit that trips mid-session, ventilation that was never planned, or a placement decision made for the view rather than the wiring run.
This guide covers the three technical pillars of a proper installation: electrical, ventilation, and placement. It is written for homeowners planning a project, not as a substitute for licensed tradespeople. Where this guide says "hire an electrician," it means it.
Electrical: The Non-Negotiable Foundation
Know your stove's demand
Electric sauna stoves are among the hungriest appliances in a home. A small 2-person sauna might draw 4.5 kW; a 4 to 6 person unit typically needs 6 to 9 kW; large cabins can demand 10.5 kW or more. That translates to dedicated 220 to 240V circuits of 20 to 50 amps, depending on the stove.
The critical rule: the circuit must be dedicated. Sharing a sauna stove's circuit with anything else invites nuisance trips, and a breaker that cuts out mid-session is not just annoying; repeated thermal cycling from partial heat-ups stresses the stove. Size the circuit to the stove manufacturer's specification, and when the manual calls for a dedicated circuit, believe it.
Hire a licensed electrician
This is not a DIY electrical project. Running a new 240V circuit involves panel capacity checks, correct breaker sizing, outdoor-rated cable or conduit where applicable, and GFCI protection per local code. An electrician also verifies that your panel has the spare capacity; older 100-amp services in particular may need an upgrade before they can host a 40-amp sauna circuit alongside the rest of the house.
Get the electrical quote early, before you finalize the sauna purchase. The cost of the run depends heavily on distance: a sauna ten feet from the panel is a different project than one eighty feet away across a garden. Typical electrician costs for a sauna circuit run from around $800 to $3,000 depending on distance, trenching, and panel work. Verify current rates before booking.
Placement of controls and wiring
Sauna controls should be mounted where they are reachable but protected: many units place the control panel outside the hot room or on an exterior wall, with a temperature sensor inside. Wiring inside the hot room must be rated for high temperatures; standard household cable degrades in sustained heat. Follow the manufacturer's wiring diagram exactly, and keep all junctions outside the hottest zones.
Wood-fired stoves: a different checklist
Wood stoves skip the electrical load but bring their own requirements: a chimney with the specified clearances to combustibles, a non-combustible hearth or floor protection, and proper flashing where the chimney exits the roof. Chimney height matters for draft; too short and the stove smokes back, too tall without support and wind becomes a structural question. Annual chimney inspection is part of ownership, not an optional extra.
Ventilation: The Most Skipped Step
Ventilation is the installation step most often omitted, and the omission with the longest consequences. A sauna needs deliberate airflow for two reasons: fresh air during the session, and thorough drying afterward. The second reason is the one that protects your investment.
The standard layout
A traditional sauna ventilates with two vents:
- Intake (supply): low on the wall near the stove, typically 4 to 6 inches in diameter. Cool fresh air enters here, gets heated by the stove, and rises.
- Exhaust: high on the opposite wall or in the ceiling, often with an adjustable cover. Warm, humid air exits here.
This creates a gentle convective loop: fresh air in low, spent air out high. During sessions, crack the exhaust open for comfort. After sessions, open both fully and leave the door ajar until the interior is dry to the touch.
Common ventilation mistakes
- No intake vent. The sauna draws replacement air from gaps and leaks, which means cold drafts at ankle level and uneven heat.
- Both vents high. Without a low intake, the convective loop never forms properly.
- Sealing the sauna "to keep heat in." A sauna is not a thermos. Sealed boxes grow mold; ventilated boxes dry out and last.
- Ventilating into a wall cavity. Exhaust must go to open air or a properly ducted path, never into insulation or between studs.
Infrared and indoor units
Infrared saunas and indoor traditional units in finished rooms need less aggressive ventilation than outdoor wood-fired cabins, but the principle holds: provide a fresh-air path and a drying routine. For an indoor sauna in a basement or spare room, crack a nearby window or door after sessions, and consider a small exhaust fan on a timer if the room tends toward mustiness.
Placement: Inside the House and Out
Indoor placement
The best indoor spots share three traits: a floor that tolerates moisture, nearby electrical access, and a ventilation path.
- Basements are the classic choice: concrete floors, out of the way, and the sauna's waste heat is welcome in winter. Watch for low ceilings and confirm the unit fits down the stairs in panels.
- Spare rooms and home gyms work well on upper floors, provided the floor can carry the loaded weight (a 4-person traditional sauna can exceed 1,500 pounds) and you protect wood floors with a moisture barrier or tile underlay.
- Garages are practical but unglamorous; they solve the moisture and weight questions instantly.
- Bathrooms occasionally host compact units, but check clearances and GFCI requirements carefully.
Wherever it goes, leave the manufacturer's recommended air gap around the unit (usually a few inches) for heat dissipation and service access. Measure doorways, hallways, and stairwells against the panel dimensions, not just the assembled footprint; flat-pack panels are long and awkward.
Outdoor placement
Outdoor placement adds a foundation, setback, and weatherproofing layer to everything above. The essentials: a level, well-drained site; a real foundation (slab, gravel pad, or verified deck); setback compliance with local codes; and a clear, lit, non-slip path from the house. Plan the electrical or chimney route before you commit to the spot, since the cheapest placement is usually the one closest to the panel or the simplest chimney run.
Clearances and safety distances
Every stove ships with required clearances: minimum distances from the stove to benches, walls, and ceilings. These are not suggestions. Wood-fired stoves need larger clearances than electric, and both need non-combustible shielding where clearances cannot be met any other way. Keep a fire extinguisher rated for the purpose within reach of the sauna door, and never store anything combustible inside the hot room.
The Installation Sequence
A well-run project follows this order:
- Finalize placement and confirm setbacks, HOA rules, and permits.
- Get electrical quotes (or chimney plan) before buying the sauna.
- Prepare the foundation or indoor site: slab cured, floor protected, clearances verified.
- Confirm delivery logistics: pallet access, panel route into the house or across the garden.
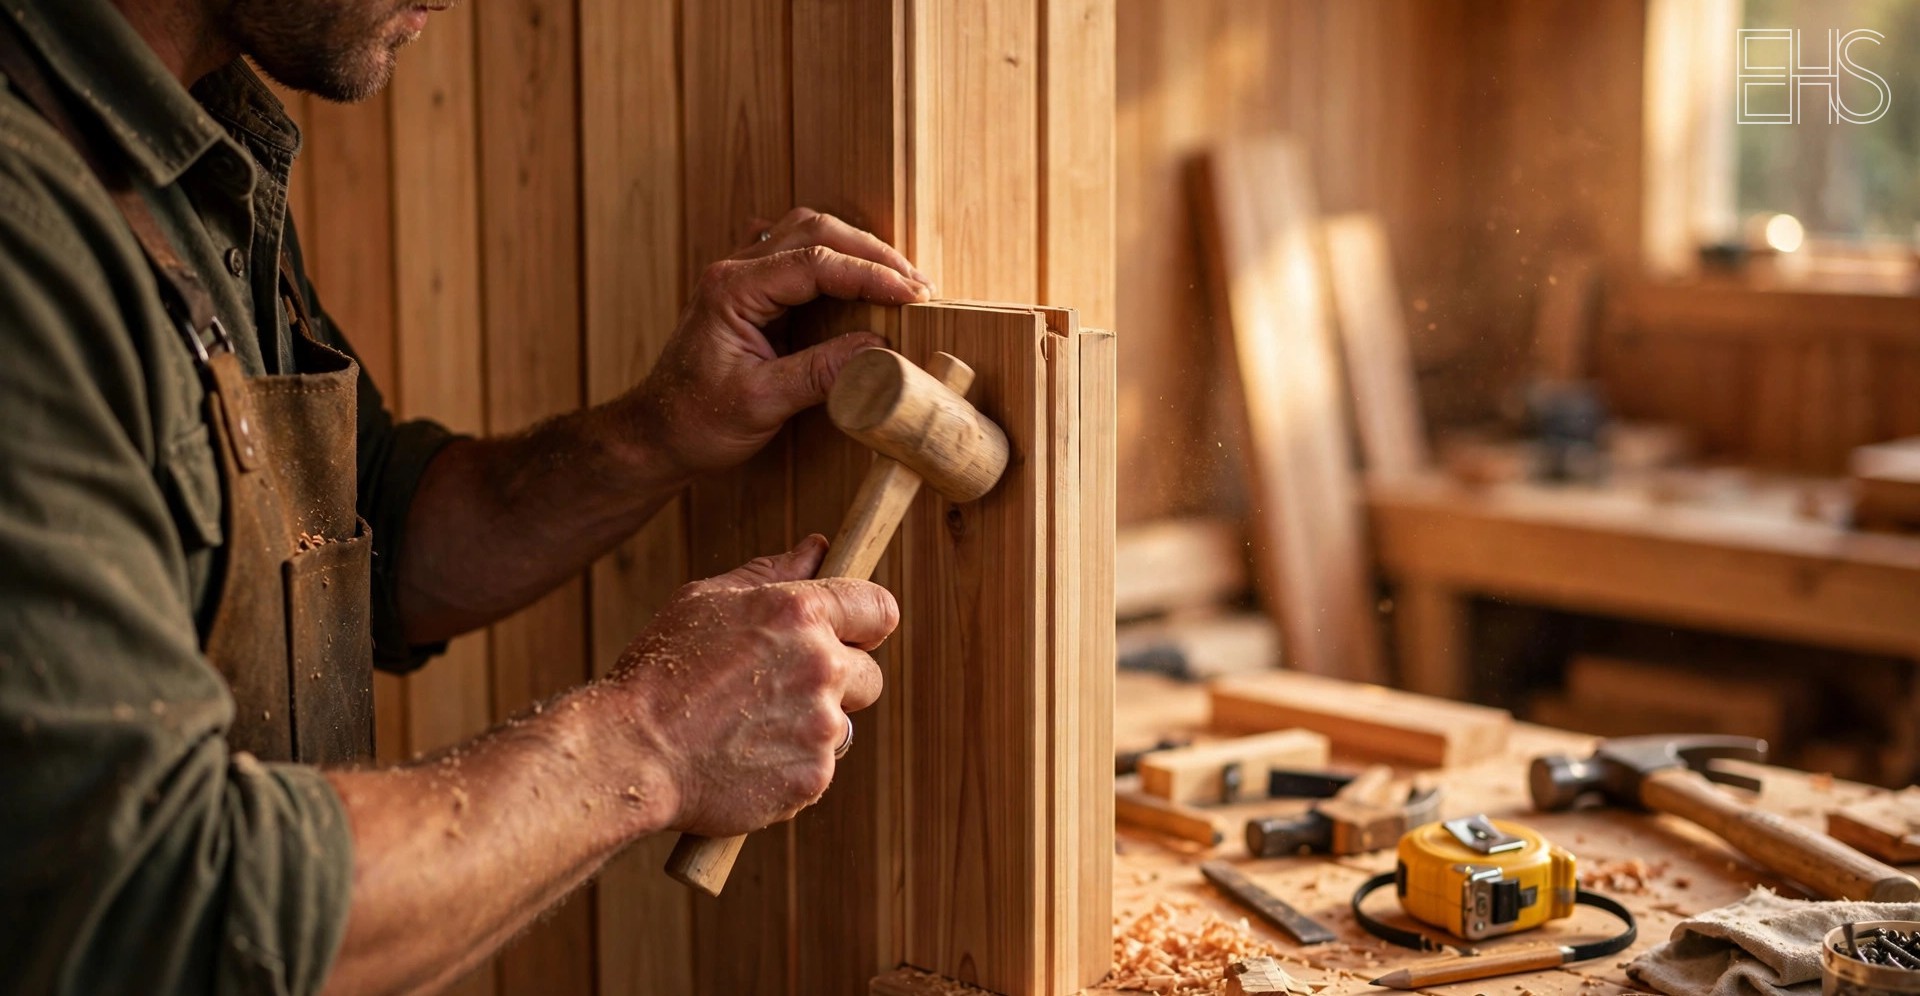
- Assemble per the manufacturer's sequence; most kits take two people a weekend.
- Electrician connects the stove and verifies the circuit under load.
- First heat-up: run the sauna empty at full temperature for an hour to cure finishes and burn off manufacturing residues, ventilating well.
- Establish the drying routine from the very first session.
Skipping straight to step 5 is how projects go wrong. Steps 1 through 4 are the installation; step 5 is just assembly.
What Installation Typically Costs
| Work | Typical range | Notes |
|---|---|---|
| Electrician, new 240V circuit | $800 to $3,000 | Distance and trenching drive the price |
| Panel upgrade (if needed) | $1,500 to $4,000 | Older 100-amp services most affected |
| Concrete pad foundation | $1,000 to $3,500 | Size and site access dependent |
| Gravel pad with pavers | $300 to $1,000 | DIY-friendly |
| Chimney kit and flashing | $500 to $1,500 | Wood-fired stoves |
| Professional assembly | $500 to $2,000 | Kit-dependent; many owners DIY |
These are typical ranges, not quotes. Labor markets differ enormously by region, so verify current rates before booking any trade.
Red Flags in a Contractor's Quote
- No permit discussion. A contractor who waves off permits is waving off inspection, and inspection is what catches dangerous wiring.
- Undersized circuit relative to the stove's spec sheet. "It'll probably be fine" is not an electrical standard.
- Standard indoor cable specified for runs inside or near the hot room. High-temperature-rated wiring is required.
- No ventilation plan anywhere in the scope. If the installer has not thought about airflow, they have not thought about longevity.
- A single lump sum with no line items. You cannot compare quotes you cannot itemize.
Plainly stated: a sauna's heat is not for every body. Heart conditions, pregnancy, and any personal worry about heat exposure all argue for caution before regular sessions: start modest, keep sessions short, and stop if anything feels wrong.
For choosing the unit itself, see the infrared sauna buyer's guide for plug-in options and infrared versus traditional sauna for the heater decision. For what the heat does and does not do, the evidence on sauna benefits is the honest summary.
Frequently Asked Questions
Can I install a sauna myself?
Assembly, yes: most kits are designed for two capable people over a weekend. Electrical work, no: a new 240V circuit requires a licensed electrician in nearly every jurisdiction, and insurance and resale both assume permitted work. DIY the woodwork, hire the wiring.
What size breaker does a sauna need?
It depends entirely on the stove. Small electric stoves (4.5 kW) typically need a 20 or 30 amp dedicated 240V circuit; mid-size units (6 to 9 kW) usually need 30 to 50 amps. The stove's manual specifies the requirement; size the circuit to that specification exactly, and confirm your panel has the spare capacity.
Does a sauna need a dedicated circuit?
Yes. Electric sauna stoves must be on a dedicated circuit with nothing else sharing it. This is both a manufacturer requirement and, in most places, a code requirement. A shared circuit risks nuisance tripping and is a genuine safety issue at these loads.
How do you ventilate an indoor sauna?
Provide a low fresh-air intake near the stove and a high exhaust on the opposite wall or ceiling, then establish the drying routine: after each session, open the vents and leave the door ajar until the interior is dry. In a finished room, cracking a nearby window or running a small exhaust fan after sessions prevents mustiness in the surrounding space.
Can I put a sauna on a wooden deck?
Only if the deck's load rating supports it. A loaded 4-person sauna can weigh 1,500 to 2,500 pounds concentrated on its footprint, which exceeds what many residential decks were built to carry. Have the deck's capacity verified, and reinforce or choose a ground-level foundation if there is any doubt.
How long does installation take?
The sauna assembly itself is typically a weekend for two people. The full project, including permits, foundation work, and electrician scheduling, more commonly runs 2 to 6 weeks. The trades and the concrete curing time set the pace, not the kit.