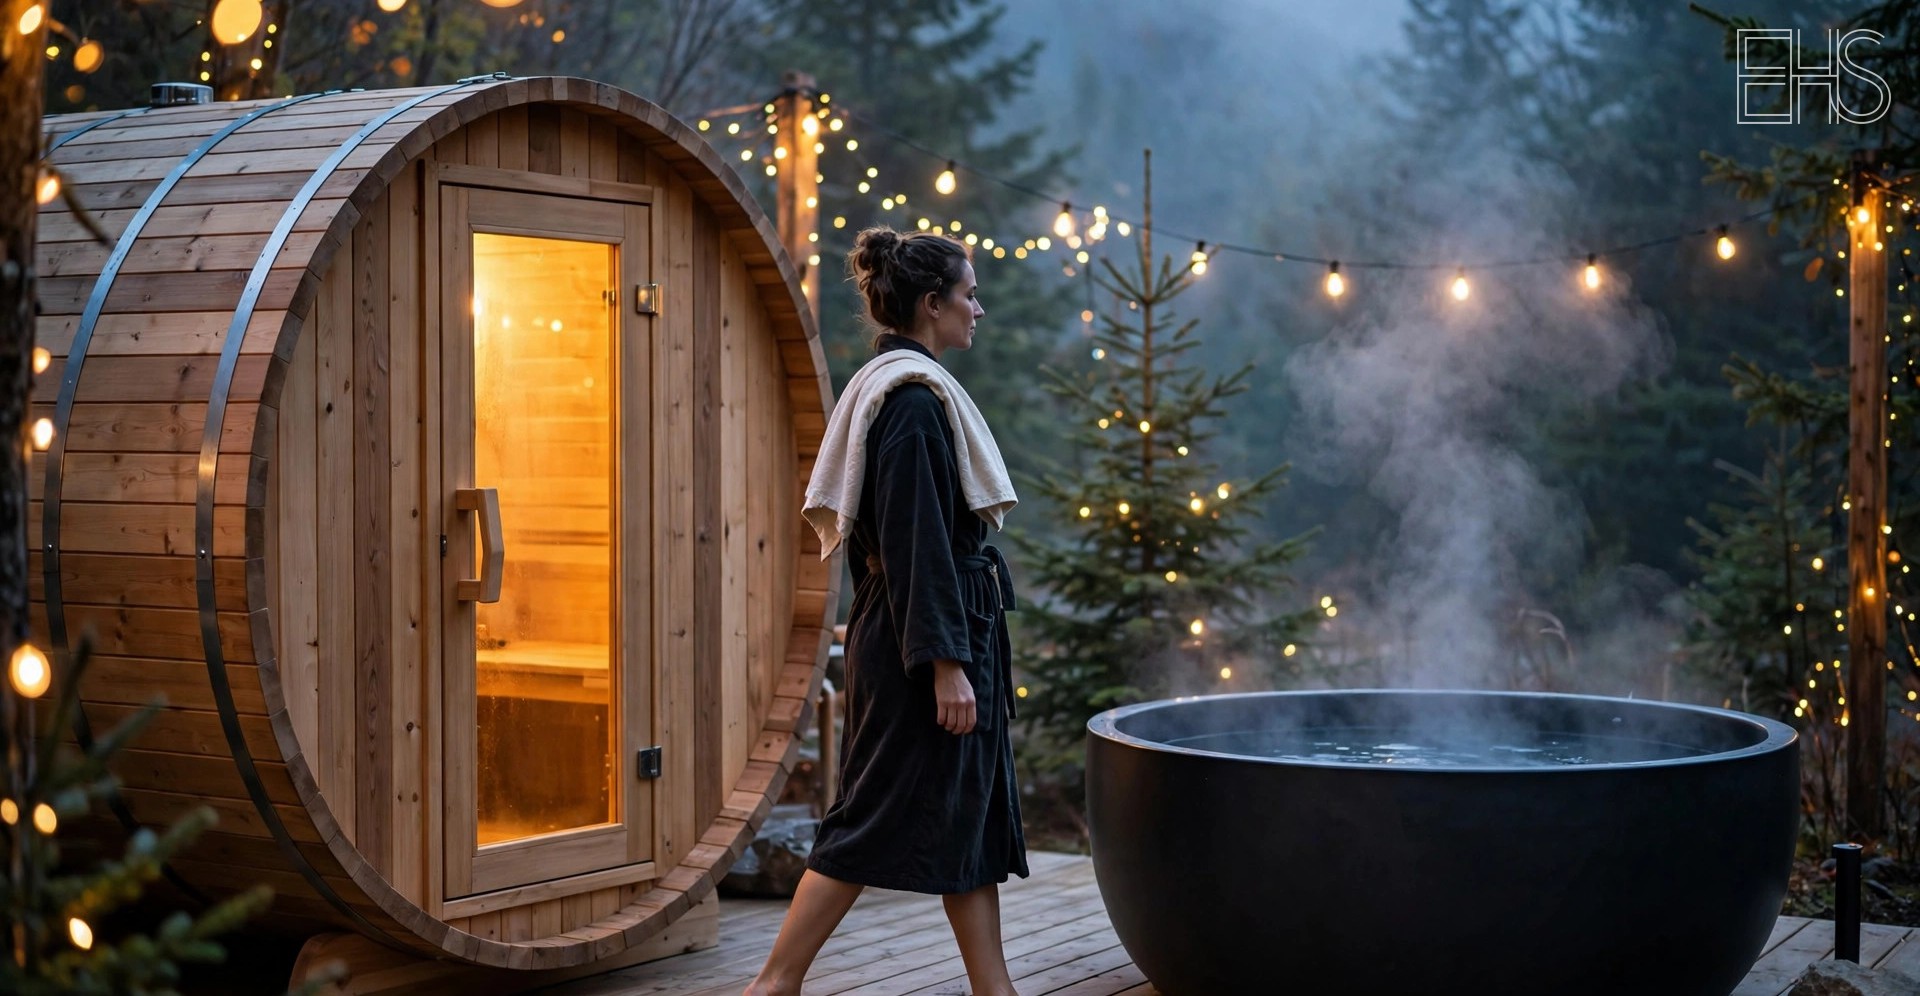
A sauna alone is a pleasure. A cold plunge alone is a discipline. Put them side by side and they become a contrast-therapy station: timed rounds of heat followed by cold, repeated several times per session. Scandinavian sauna culture has paired the two for centuries (hot room, then snow or a cold lake), and the home version is now practical for anyone with a garage corner, a basement, a patio, or a garden.
This guide covers the pairing itself: planning, budgeting, placement, and installation. For session timing and temperature targets, see our contrast therapy routines guide; for the evidence picture, our contrast therapy evidence review.
Key takeaways - A home contrast setup is a sauna plus a cold plunge placed so you can move between them in under a minute. The transition is the design problem everything else serves. - Budgets run from nearly free (shower-only) to five figures, with a sensible permanent setup around $4,000 to $10,000 for both sides. - Each side needs its own infrastructure: electrical and ventilation for the sauna, drainage and water management for the plunge. - No trial has shown extreme temperatures outperform moderate ones. Start conservative. - Heat and cold are not for everyone. Read the safety section before building.
Why Two Stations Beat One
Owning both unlocks contrast sessions: heat for several minutes, cold for a minute or two, repeated three or four times. The evidence for hot-cold cycling is modest (our evidence review found no trial showing it beats heat or cold alone), but the combined ritual is more enjoyable than either half, and many single-station owners eventually buy the other side.
The practical argument is frequency: a station you can move through in seconds gets used; one that requires a trek across the house in a wet robe in January does not. Buy the sauna first if you own neither. Saunas get used casually (unwinding, warming up), so they earn their floor space even without formal contrast sessions. Plan the full two-station layout before buying the first piece, so the second one has a place waiting.
The Four Setup Tiers
Home contrast setups cluster into four tiers. Find yours in the table; the equipment sections below add detail.
| Tier | Sauna side | Plunge side | Typical budget | Space needed |
|---|---|---|---|---|
| Shower-only | Hot shower | Cold shower | $0 | One bathroom |
| Compact | Portable sauna tent or infrared pod | Inflatable plunge, ice-fed | $500 to $1,500 | Small room or patio corner |
| Dedicated mid-range | Barrel or small cabin sauna | Insulated tub with chiller | $4,000 to $10,000 | Garage, basement, or garden |
| Full installation | Custom cabin sauna, wired and ventilated | Premium plunge with integrated chiller | $12,000 to $25,000+ | Dedicated room or outbuilding |
Budgets are approximate and move with the market; verify current rates before committing to any purchase.
Shower-only is the honest test: 3 to 4 minutes of hot shower, 1 to 2 minutes of cold, three rounds. If you look forward to it after a month, invest further.
Compact suits renters and small spaces: a portable sauna tent or fold-flat infrared pod plus an inflatable plunge with bagged ice. No construction.
Dedicated mid-range is where most permanent setups land: a two-person barrel or small cabin sauna paired with an insulated plunge tub and a properly sized chiller. The station runs year-round.
Full installation is the outbuilding or wellness-room project: custom cedar cabin plus a premium plunge with integrated chiller, filtration, and sanitation. Twenty-year equipment life if the infrastructure is right.
Choosing the Heat Side
For contrast use, rounds run 3 to 5 minutes and you move in and out repeatedly, so the sauna question is simpler than for sauna-only buyers.
Traditional saunas reach 160 to 190°F and suit contrast well. They need a dedicated circuit (typically 30 to 50 amps) and proper ventilation. Infrared saunas run at 120 to 140°F, need only a modest circuit, and heat up in 15 to 20 minutes. Steam rooms are the classic spa pairing with cold plunges but need plumbing, waterproofing, and a steam generator: firmly a full-installation-tier project.
One rule: choose a sauna you can enter and exit quickly. A cabin with a low bench step and an easy door beats a dramatic design with a ladder and a heavy door. This trip happens six to eight times per session.
Choosing the Cold Side
The plunge side has one job: reliably cold water with minimal daily effort.
Insulated tub with chiller is the standard answer for permanent setups. The chiller holds your set temperature (50 to 60°F is the sensible starting range), filters and sanitizes the water, and removes the ice ritual. Our chiller sizing guide explains how to match cooling capacity to tub volume and climate.
Ice-fed tubs cost far less up front but add a recurring chore: roughly 20 to 40 pounds of ice per session in warm weather. Ice is a fine trial; as a permanent solution, most regular users move to a chiller within a year.
Water care matters more in a contrast station, because you enter warm and wet from the sauna, bringing more body oils into the water. Rinse before plunging and follow our cold plunge water care guide. Clean water is what makes the station inviting on a cold Tuesday evening; cloudy water is what kills the habit.
Placement: Designing the Transition
The goal: move from sauna to plunge in under a minute, barefoot and dripping, without crossing a living room.
Outdoor setups are the natural home: sauna cabin and plunge tub on the same deck or patio, a few steps apart, with a hose for rinsing and drainage handled by grading. Plan for winter: both units must be winter-rated, the plunge needs freeze protection or continuous chiller operation, and you need a warm, dry, lit path between the two.
Garage or basement setups are weather-independent and private: concrete floors, the electrical panel nearby, nobody minding water on the floor. Ventilation matters, floors must tolerate water, and a dehumidifier is cheap insurance. Our indoor vs. outdoor plunge guide covers the trade-offs in full.
Bathroom-adjacent setups suit the compact tier: an infrared pod in a spare room with the cold shower two steps away. Waterproofing (tile, sealed grout, a floor drain) is the price of admission.
Add the small things: a non-slip mat on the path, a bench or hook for robe and towel within reach of both stations, a rinse hose, and lighting that works after dark.
The Installation Checklist
Walk through this before buying either side. It prevents the expensive mistakes.
| Requirement | Sauna side | Plunge side |
|---|---|---|
| Electrical | Dedicated circuit, often 30 to 50A; hire a licensed electrician | Standard outlet usually suffices for the chiller |
| Ventilation | Required: low intake, high exhaust, vented outside | Dehumidification in enclosed spaces |
| Water | None needed (bucket fill for traditional) | Hose access for filling; plan for periodic water changes |
| Drainage | Flooring should tolerate splashes | Tub drain or floor drain nearby; never drain onto foundations |
| Flooring | Heat- and moisture-tolerant (tile, sealed concrete, wood) | Waterproof, non-slip, sloped toward a drain |
| Clearances | Manufacturer clearances from walls; nothing combustible near the stove | Chiller needs airflow space around the unit |
| Permits | Check local rules for wired structures and outbuildings | Check HOA rules for visible outdoor equipment |
The sauna's electrical circuit is the most common failure point: undersized wiring and amateur panel work cause most sauna disappointments and most of the genuine safety risk. Hire a licensed electrician.
Safety in Plain English
Heat and cold are both real physiological stressors, and a contrast station combines them. A few plain rules cover most of the risk.
Start conservative: moderate sauna temperatures, plunge water in the 50 to 60°F range, short rounds (3 minutes heat, 1 minute cold, three rounds). No evidence favors extreme temperatures, and the first sessions are when mistakes happen.
Do not plunge alone. Cold water can trigger an involuntary gasp reflex in the first minute; near the water surface, the consequences are obvious. Have someone nearby.
Certain conditions make heat, cold, or both a bad idea: heart conditions, uncontrolled high blood pressure, circulation disorders, pregnancy, and seizure disorders are the main ones. Alcohol and contrast sessions do not mix. If any of this applies, talk with a qualified professional first, and treat the answer as binding.
Hydrate on a schedule (cold suppresses thirst), keep sessions under 35 minutes, and end warm and dry: towel off, dress warmly, and rest ten minutes before driving.
Budget Planning
Plan the full project, not the two purchase prices.
Equipment: compact tier $500 to $1,500; mid-range $4,000 to $10,000 for both sides; full installation $12,000 to $25,000 or more. Verify current rates before buying.
Installation: budget $500 to $2,000 for electrical work on the sauna side (more for outbuildings needing new service runs), plus flooring, drainage, and ventilation. Get quotes from licensed tradespeople.
Running costs: roughly $1 to $3 per sauna session in electricity; roughly $20 to $60 per month for a chiller running continuously, more in hot climates. Check your utility rate first.
Maintenance: periodic sauna cleaning and wood treatment; chiller filter changes and descaling; covers for both. Budget a few hundred dollars a year and a few hours a season.
The honest math: a mid-range station used twice a week for five years lands in the low tens of dollars per session. Whether that is worth it depends on whether you actually use it twice a week. The shower-only trial is the cheapest way to find out.
Frequently Asked Questions
Can I build a contrast setup in a small apartment?
Yes, with compromises. A fold-flat infrared pod or portable sauna tent gives you the heat side without construction; a compact plunge or cold shower gives you the cold side. The real constraint is water, not space: check building rules on large water vessels, confirm the floor can handle the weight (about 8.3 pounds per gallon), and plan the fill-and-drain routine.
Should I buy the sauna or the plunge first?
Buy the sauna first if you own neither. A sauna gets used casually (unwinding, warming up) even on days you skip contrast sessions, so it earns its floor space independently. A plunge bought alone tends to be used more deliberately and abandoned sooner. Plan the full two-station layout before buying either way.
How close together should the sauna and plunge be?
As close as practical: a few steps, on the same level, with no doors to open while dripping wet. Under a minute of transition is the target; under thirty seconds is better. Every extra step, stair, or door is friction that reduces how often you use the station, especially in winter.
Do I need a chiller, or is ice enough?
Ice is enough to start and to test whether you enjoy contrast sessions. It stops being enough when buying, storing, and loading 20 to 40 pounds of ice per session starts competing with your motivation, which for most regular users happens within a few months. A chiller holds your set temperature and filters the water, turning the plunge into something you can use on impulse.
What does a contrast setup cost to run each month?
Roughly $30 to $90 per month for a mid-range station used a few times a week: $20 to $60 for the chiller (more in hot climates), plus $1 to $3 of electricity per sauna session, plus modest water and chemical costs. Figures move with local electricity rates, so check your utility rate before committing.
Is contrast therapy at home safe for beginners?
The moderate version is straightforward for healthy adults: short rounds, moderate temperatures, the conservative starting protocol in this guide (3 minutes heat, 1 minute cold, three rounds). Trouble comes from treating the first session as a toughness test: maximum sauna heat, near-freezing plunge, long immersions. Start easy, never plunge alone, and talk with a qualified professional first if any health concern applies.
Contrast setups combine heat and cold exposure, which are not for everyone. Start conservatively, never plunge alone, and check with a qualified professional first if you have any health condition.