
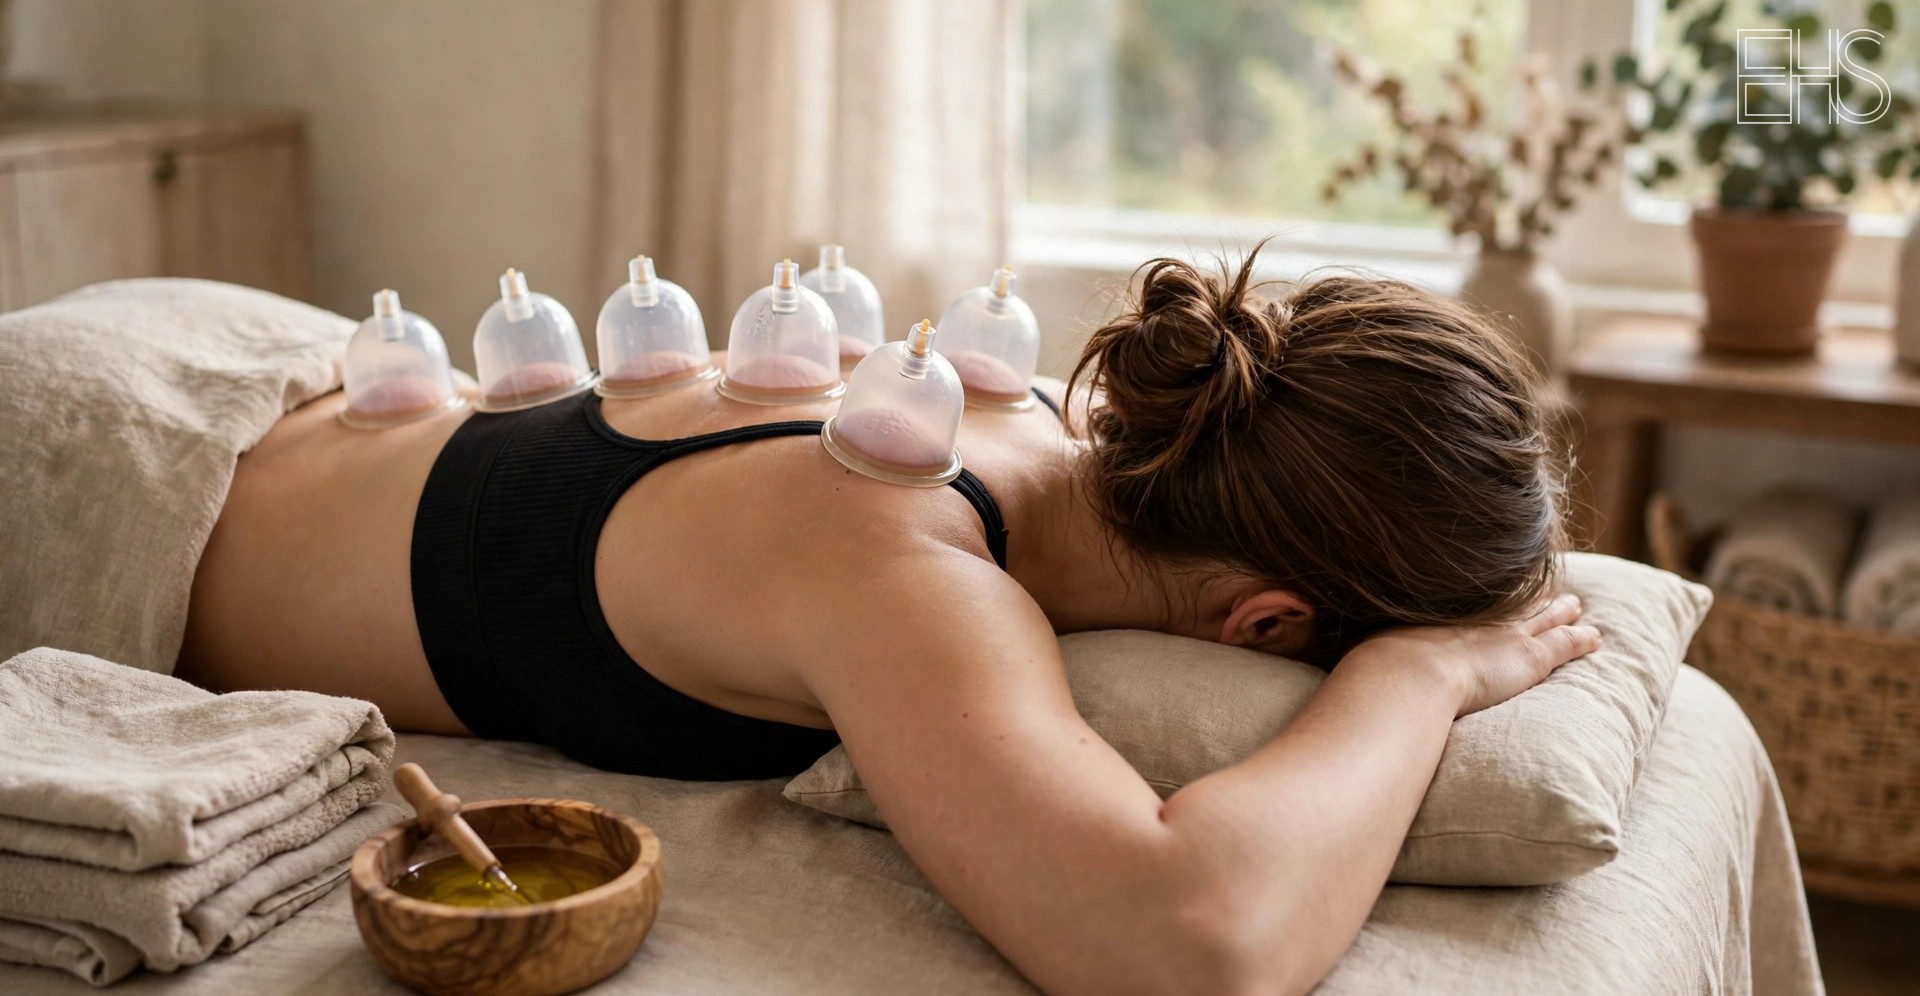
Cupping has moved from the treatment room to the bathroom shelf. A set of silicone cups now costs less than a single spa visit.
The catch is that cupping looks simpler than it is. Suction strong enough to lift skin can also blister it, and the difference between a useful session and a sore week comes down to minutes and pressure.
Key takeaways - Cupping uses suction to lift the skin and the tissue underneath. At home, that means dry cupping only: cups on unbroken skin, with no flame and no skin breaking. - Silicone sets are the beginner pick: cheap, unbreakable, and easy to control. Pump sets give measured suction, and electronic cups add heat and red light. - Start with 3 to 5 minutes per area and never leave a cup in one spot for more than 20 minutes. - Round marks are expected and usually fade within a week or two. Darker marks take longer to clear and do not mean the session worked better. - The evidence is thin. The U.S. National Center for Complementary and Integrative Health says cupping may help reduce pain, but most studies are low quality.
What Cupping Actually Is
A cup placed on oiled skin with the air partly removed creates a vacuum, and the vacuum pulls the skin upward into the cup. Blood flow to the area increases while the cup is on, and the skin shows a round mark where the rim sat. Dry cupping is the only form this guide covers.
Cupping has roots in Chinese and Middle Eastern practice. Two older forms stay outside home use: wet cupping, which breaks the skin and belongs with trained practitioners, and fire cupping, which heats a glass cup with a flame and carries a burn risk. At home, cupping is static (cups left in place) or gliding (a cup slid across oiled skin). It sits in the same recovery drawer as the tools in our massage gun buyers guide and our percussion vs. compression recovery comparison.
The Four Kit Types
Every home kit falls into one of four types, and the type decides how suction is made, how much control you get, and what it costs.
| Kit type | How suction is made | Best for | Typical price | Watch out for |
|---|---|---|---|---|
| Silicone cups | Squeezed by hand, then released | Beginners, gliding, face and neck | Around $10 to $30 | Suction varies with the squeeze |
| Glass cups with bulb or pump | Rubber bulb squeezed, or a hand pump | Face, neck, and smaller areas | Around $25 to $45 | Glass breaks if dropped |
| Plastic cups with hand pump | Hand pump with a release valve | Static back sessions and large muscles | Around $30 to $80 | Hard to place on your own back |
| Electronic cups | Motor with adjustable suction, often heat and red light | Self-massage with heat | Around $60 to $150 or more | One cup at a time; needs charging |
Silicone is where most people should start. A set of four to six cups in graduated sizes costs about the same as a takeaway lunch, nothing in it can break, and the suction is self-limiting: the harder you squeeze, the stronger the pull.
Glass cups are the classic shape, and the see-through wall lets you watch how far the skin lifts inside the cup. Small glass cups with a rubber bulb suit the face, but a dropped cup is a broken cup.
Plastic pump sets are the workhorses of static cupping. A hand pump draws the air out through a valve, so the suction is repeatable from cup to cup, and the set usually includes six to twelve cups. The tradeoff is reach: placing cups on your own mid-back takes practice.
Electronic cups are the newest category. A small motor creates the suction, most models pulse it in a suck-and-release rhythm, and many add heat and red light. The catch is power: the suction runs stronger than a silicone cup, so a static hold should stay short.
What a Kit Should Cost
Prices below are listed prices from online retailers in November 2026; verify current rates before buying.
| Tier | Typical price | What you get | Who it suits |
|---|---|---|---|
| Starter | Around $10 to $25 | 4 to 6 silicone cups and a pouch | First-timers and facial cupping |
| Mid-range | Around $25 to $50 | Glass or silicone set with a pump, 6 to 12 cups, a case, and a guide | Regular home use and back sessions |
| Premium | Around $50 to $150 or more | Electronic cup or a large pump set with magnetic tips | People who want heat, red light, or measured suction |
A starter silicone set is enough to learn the technique. Spend more only when you know which style you prefer.
Before ordering, check the material (medical-grade silicone or borosilicate glass), the sizes (at least three), and the instructions (an illustrated guide or video link).
A First Session, Step by Step
A first session should take about fifteen minutes from setup to cleanup. Keep it short, keep the suction light, and keep one hand free to release a cup. Start with clean, dry skin and a small amount of oil.
Place the first cup on a flat, fleshy area such as the upper back. With silicone, squeeze the cup, press the rim flat against the oiled skin, and let go slowly. With a pump cup, set it down first and give one or two pumps. The skin should rise visibly and feel like a firm pull, tight but not painful.
Leave static cups in place for 3 to 5 minutes on a first session, never more than 20 minutes in one spot. For gliding, keep the cup moving in slow strokes along the muscle. Release each cup by lifting an edge or opening the valve, never by pulling it straight off, then wash the cups with warm soapy water.
Cup an area once or twice a week, and leave at least a day between sessions on the same spot, so the marks have time to fade.
Static Cups or Gliding Cups
Static cupping parks the cups and leaves them there. It is the style that leaves the round marks, because the suction stays on one patch of skin for minutes at a time. It suits broad, flat areas: the upper back, the thighs, and the calves.
Gliding cupping keeps the cup moving in slow lines along the muscle, so the marks are lighter or absent. It suits arms, legs, and the sides of the neck. People often alternate cupping with the devices in our compression boots buyers guide or the heat and cold sequence in our contrast therapy protocols guide.
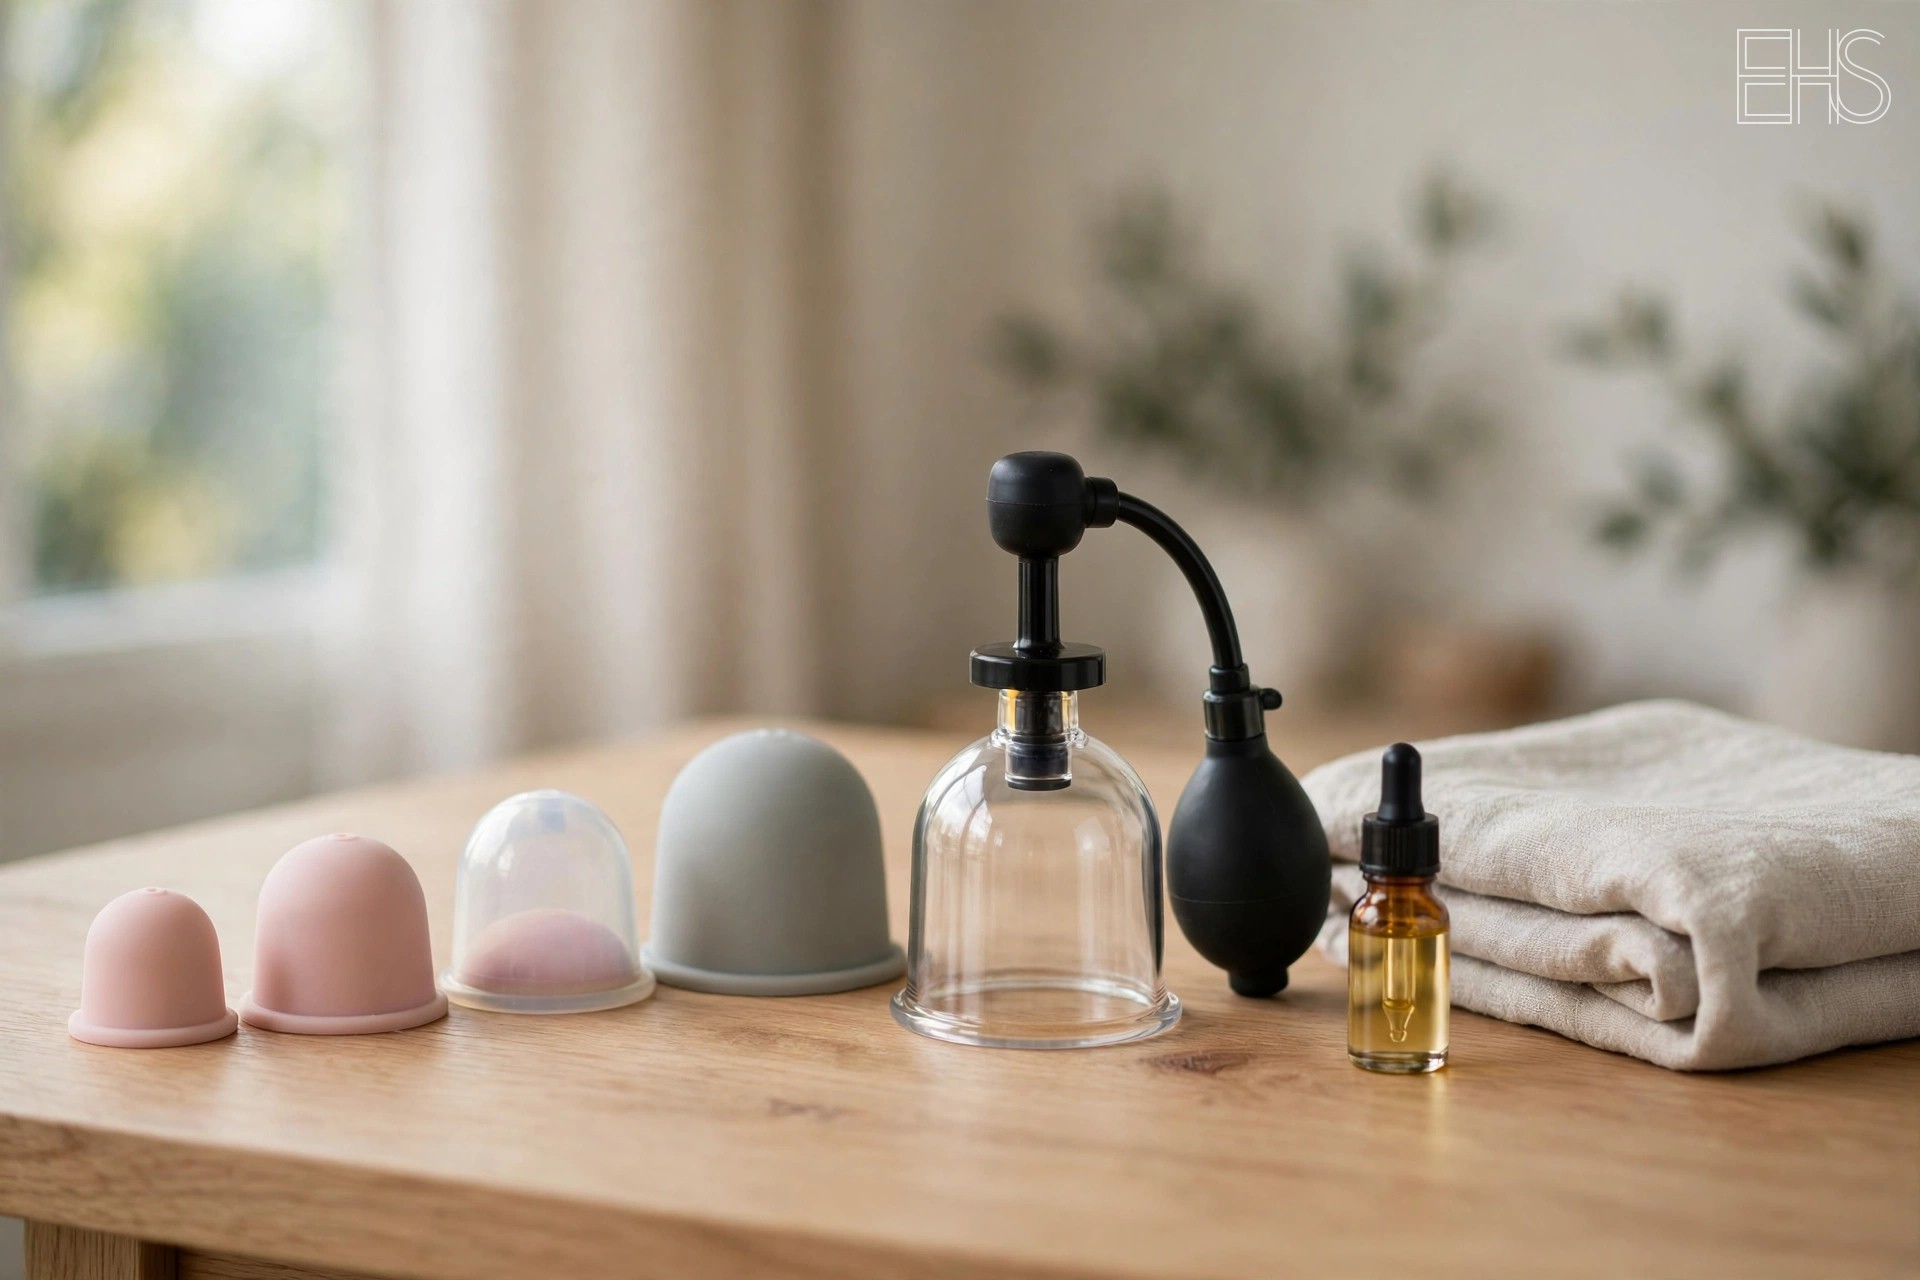
Illustration by EverHealthSpan
Facial Cupping: Smaller Cups, Lighter Touch
Facial cupping uses the same idea at a much smaller scale: tiny cups, light suction, and a cup that never sits still, gliding upward and outward across oiled skin on the cheeks, jawline, forehead, and under the eyes.
Use only the smallest cups, keep the suction at the lightest level that still holds, and never park a cup on one spot: a static hold on the face is how broken capillaries happen. Body cups should never be used on the face.
The Marks, Explained
Suction pulls blood into the tiny vessels just under the skin, and some of those vessels break. The blood that leaks out makes a round patch of color, the same kind of small red or purple spot that appears when a vessel breaks anywhere else.
A light pink mark fades in 1 to 3 days, a red mark in 3 to 5 days, and a purple mark in 5 to 10 days, sometimes up to two weeks. Marks that stay painful, blister, or do not fade after two weeks are not normal: stop cupping the area and get professional guidance.
What the Evidence Actually Says
The U.S. National Center for Complementary and Integrative Health, in a summary last updated in 2018, says there has been some research on cupping, but most of it is of low quality, and cupping may help reduce pain, though the evidence is not very strong.
A 2020 pooled analysis of 18 trials sharpened that picture: cupping beat no treatment for pain in the short term, but it did not beat sham cupping, where cups were placed without real suction. Our compression therapy evidence review applies the same grading to a neighbouring tool, and no large, well-controlled trial has settled cupping either way.
Explore Other Wellness Tools
Interested in exploring other wellness subjects and products? If cupping is more hands-on than you want, two smaller recovery tools worth a look are NovaaLab's Deep Healing Pad XL (affiliate link), a red-light pad for muscle recovery, and Renu Therapy's Cold Stoic 2.0 (affiliate link), an insulated plunge tub with an integrated chiller. Neither needs installation or a prescription.
A Plain-English Safety Note
Cupping uses suction and pressure, and it is not for everyone. Skip it, or get professional guidance first, if you take blood thinners or have a bleeding or clotting disorder, if you are pregnant, if you have anemia, heart disease, a pacemaker, or seizures, or if your skin is fragile. Never cup over open wounds, sunburn, or rashes, and never cup the abdomen or lower back during pregnancy.
Start light and short: 3 to 5 minutes per area, never more than 20 minutes in one spot. Blisters, burns, and skin that stays pale, blotchy, or painful after a session are all signs to stop and get professional guidance. The cold plunge safety guide covers the same principles for cold exposure.
Frequently Asked Questions
How long should I leave the cups on?
Start with 3 to 5 minutes per area and work up to 10 to 15 minutes as you learn how your skin reacts. Never leave a cup in one spot for more than 20 minutes, since long holds are the usual cause of blisters.
Do dark cupping marks mean the session worked better?
No. Dark marks mean strong suction, a long hold, or sensitive skin in that area, not a better result. A light pink mark follows a gentle session; a purple mark follows heavy suction. Judge a session by how the area feels afterward, not by the color it leaves behind.
Can I use a body cupping set on my face?
No, body cups are too large and their suction is too strong for facial skin. Facial cupping needs the smallest cups in a set, kept moving at all times with a light pull. Buy a dedicated facial set of small silicone cups, usually around $8 to $40.
Is cupping safe during pregnancy?
Cupping on the abdomen and lower back should be avoided during pregnancy, and some practitioners also advise avoiding the upper back during the first trimester. Beyond that, get professional guidance before cupping at all while pregnant, since the research on safety in pregnancy is thin.
What is the difference between static cupping and gliding cupping?
Static cupping leaves the cups in one place for a few minutes, and it is the style that leaves the round marks. Gliding cupping slides a cup across oiled skin in slow strokes and leaves lighter marks or none at all. Gliding is the better first session because the cup stays in your hand.
What other recovery tools pair well with cupping?
Cupping works on one area at a time, so whole-body tools pair naturally with it. A cold plunge tub gives whole-body cold exposure: Renu Therapy's Cold Stoic 2.0 (affiliate link) is an insulated tub with an integrated chiller, listed at $9,499.
This article is for informational purposes only and does not provide medical advice or guaranteed outcomes.