Every cold plunge buyer eventually faces the same fork: build it yourself from a stock tank, a chest freezer conversion, or an insulated barrel, or buy a purpose-built tub engineered for the job. The DIY route promises real savings and a certain satisfaction; the purpose-built route promises a system that works on day one and keeps working. Both claims are partly true. This guide prices the real costs, compares the ownership experience, and helps you decide which builder you are.
Plainly said: cold immersion is not for everyone. Start slowly, keep initial sessions short, and skip it on days you feel unwell.
The DIY Landscape
DIY cold plunges cluster around three builds, each with a distinct cost and effort profile.
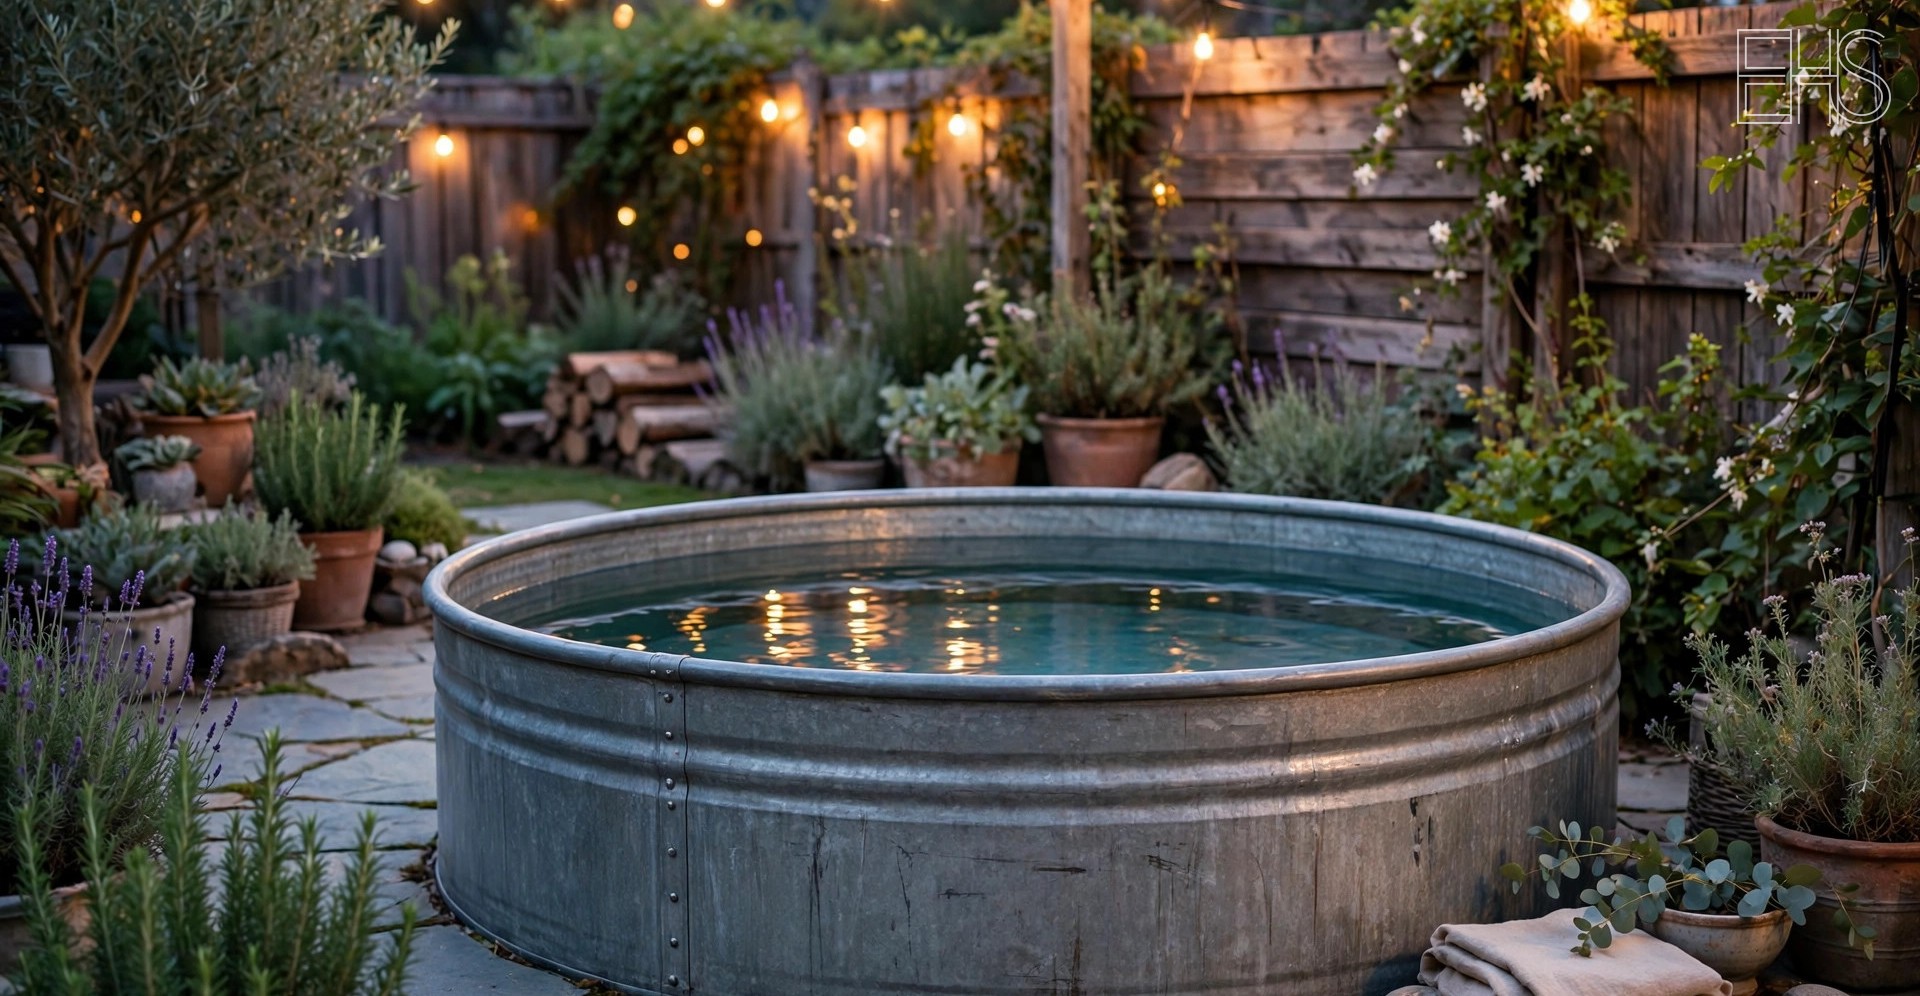
The stock tank. A galvanized or poly stock tank (typically 100 to 150 gallons) from a farm supply store, filled with water and cooled with ice. The classic entry point: the tank itself typically lists from around $80 to $200, and the build is an afternoon's work. Add a pond pump and filter for circulation, a cover (a sheet of rigid insulation cut to fit is the standard hack), and you have a functioning plunge. Upgrading to a chiller later is common; the tank accepts standard hose fittings with basic plumbing parts.
The chest freezer conversion. A used chest freezer, waterproofed inside, filled with water, and run on its own compressor via an external temperature controller. The appeal is obvious: the freezer already insulates and already cools. The reality is more complicated: freezers are not designed for continuous water immersion, seals fail, condensation management is a project, and the compressor duty cycle of a converted freezer is a known weak point. Builds typically run $200 to $500 all-in, but reliability varies enormously with execution quality.
The insulated barrel or IBC tote. Food-grade barrels (55 gallons) or intermediate bulk containers, insulated with wrap or foam board, cooled with ice. The cheapest functional plunge: often under $150 total. Cramped for larger adults, high-maintenance on water changes, but unbeatable as a trial.
For the ice logistics that most DIY builds depend on, see our chiller-versus-ice comparison; the economics there decide whether a DIY ice build survives past month three.
The True Cost of DIY
DIY looks cheap because the headline number is small. The honest accounting includes:
- The vessel: $80 to $300 depending on the build.
- Cooling: ice at $3 to $8 per session's worth, or a chiller ($800 to $2,500) if you upgrade.
- Filtration: a pond pump and filter runs $50 to $150; without it, water changes every few days.
- Cover: $30 to $80 in rigid insulation or a fitted tarp; DIY covers are the weakest link in most builds.
- Plumbing and fittings: $50 to $150 in hoses, clamps, sealant, and adapters.
- Temperature control: an external controller ($30 to $60) for freezer conversions.
- Your time: 5 to 20 hours for the initial build, plus ongoing tinkering.
A realistic all-in DIY build with ice cooling lands around $300 to $600; adding a chiller brings it to $1,200 to $2,800, at which point the savings versus a purpose-built bundle narrow considerably. And these numbers exclude the value of the builder's time and the cost of mistakes: the cracked seal, the wrong fitting size ordered twice, the pump that dies in month two.
The Purpose-Built Landscape
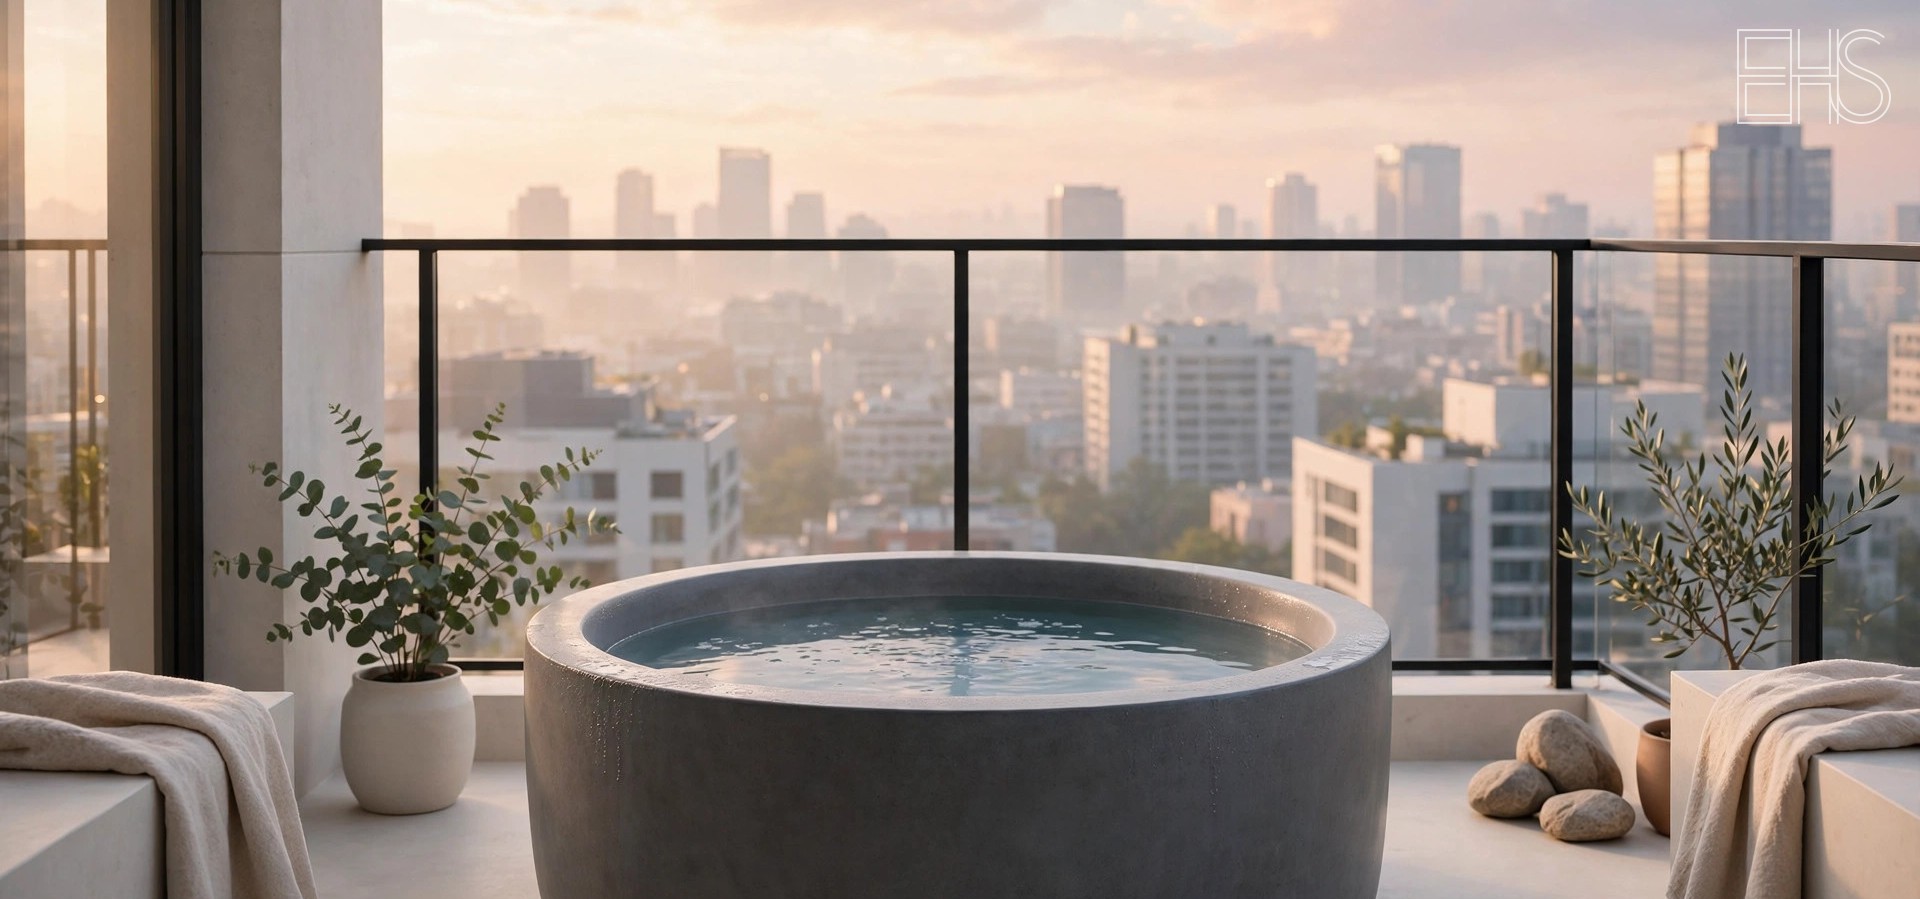
Purpose-built tubs range from $500 portable setups to $5,000-plus all-in-one units, and what you are buying at each tier is integration: matched components, designed insulation, proper filtration, and a single warranty.
Entry purpose-built ($500 to $1,500): insulated tubs designed for ice or chiller pairing, with proper drains, covers, and filtration ports. The build quality step up from DIY is immediately visible: everything fits, the cover actually seals, and the drain is where you need it.
Mid-tier ($1,500 to $3,000): tub-plus-chiller bundles with matched flow rates, multi-stage filtration, and sanitation systems. This is where most daily plungers land; the system holds temperature with minimal attention and water lasts weeks between changes.
Premium ($3,000 to $8,000+): all-in-one units with furniture-grade finishes, advanced filtration, quiet operation, and app controls. You are paying for zero friction and presence. As always, verify current rates before booking or buying; premium pricing moves with model cycles.
Our buying guide breaks down what to look for at each tier, and the decision framework helps you set the budget before you browse.
Head-to-Head: The Real Comparison
| Factor | DIY build | Purpose-built |
|---|---|---|
| Upfront cost (ice-cooled) | $150 to $600 | $500 to $1,500 |
| Upfront cost (chiller) | $1,200 to $2,800 | $1,500 to $5,000+ |
| Build time | 5 to 20 hours plus tinkering | Unbox and fill |
| Temperature control | Manual; drifts between ice loads | Thermostatic; holds setpoint |
| Filtration | Add-on; often undersized | Designed in; multi-stage options |
| Water change frequency | Every few days (ice, no filter) | Every 2 to 8 weeks |
| Insulation quality | Variable; usually the weak point | Engineered; consistent |
| Aesthetics | Rustic to rough | Designed; furniture-grade at top tiers |
| Warranty | None (parts only) | 1 to 5 years, system-wide |
| Resale value | Near zero | Meaningful for quality brands |
| Failure modes | Leaks, seal failures, pump issues | Chiller service; covered under warranty |
Where DIY Genuinely Wins
DIY is the right choice in three situations. First, the trial: if you are unsure plunging is for you, $200 in a stock tank answers the question definitively. Spending $3,000 to discover you dislike cold water is the expensive version of the same experiment. Second, the tinkerer: some owners genuinely enjoy the build, the upgrades, the forum threads about pump curves. For them the tinkering is recreation, not cost. Third, the constrained budget with real commitment: a careful DIY builder who adds filtration and a cover, and who is honest about ice logistics, can plunge daily for well under $1,000 all-in.
DIY also wins on repairability in a narrow sense: when you built it, you know how to fix it, and every part is a standard hardware-store item. No waiting on manufacturer support tickets for a proprietary fitting.
Where Purpose-Built Genuinely Wins
Purpose-built wins on the metric that decides long-term habits: friction. Every point of friction in a DIY system (the cover that does not quite seal, the ice run, the water that needs changing again, the pump making a new noise) is a small tax on the next session. Purpose-built systems are engineered to minimize exactly these taxes, and the owners who plunge daily for years overwhelmingly use systems that ask little of them.
It also wins on household acceptance. A stock tank in the backyard reads as a project; a designed tub reads as a fixture. When the plunge needs buy-in from a partner or needs to sit on a visible patio, appearance is not vanity; it is the difference between keeping the setup and being asked to remove it.
And it wins on time accounting. Twenty hours of build and debug time plus ongoing tinkering has a value. For owners whose time is expensive, the premium for purpose-built pays for itself in the first year.
The Hybrid Path Most Owners Actually Take
The most common real-world trajectory is neither pure DIY nor pure premium: it is a staged upgrade. Start with a stock tank or barrel on ice ($200 to $400). Plunge consistently for two months. If the habit sticks, add a chiller to the DIY tub ($800 to $1,500) or upgrade to a purpose-built bundle, selling or repurposing the tank.
This path has two virtues. It tests the habit at minimum cost, and it makes you an informed buyer: after two months of hauling ice and changing water, you know exactly which features matter to you and which are marketing. The owners who follow this path report the highest satisfaction, because every dollar they eventually spend targets a friction they have personally felt.
One caution on the hybrid path: size the chiller for the tub you plan to own, not the tub you have. A chiller bought for a 60-gallon barrel and later paired with a 120-gallon tub will be undersized; sizing guidance applies at every stage.
The Decision, Honestly Framed
Ask yourself two questions. Do I enjoy building and fixing things? If the answer is an enthusiastic yes, DIY will reward you and the savings are real. If the answer is no, or "not really," the DIY discount is priced in your least favorite currency: weekends. Will I still be maintaining this in eighteen months? DIY systems need their builder's attention indefinitely; purpose-built systems need filter changes. Answer honestly, because the maintained system beats the neglected one.
There is no shame in either answer. The $200 stock tank that gets used daily outperforms the $5,000 all-in-one that becomes patio sculpture. The build is not the habit; the build only serves the habit.
Frequently Asked Questions
How much does a DIY cold plunge really cost?
A basic ice-cooled stock tank build runs $150 to $600 all-in including the tank, a cover, basic filtration, and fittings. Adding a chiller brings the realistic total to $1,200 to $2,800. The most commonly underestimated costs are filtration (skipped, then regretted), the cover (underbuilt, then replaced), and the builder's own time.
Is a chest freezer conversion safe?
It carries specific risks that other DIY builds do not: freezers are not designed for continuous water immersion, electrical components and standing water are a poor combination, and seal failures are common. Builders who attempt it should use a GFCI-protected circuit, an external temperature controller rated for the load, and thorough waterproofing, and should understand they are operating outside the appliance's design. Many experienced DIYers consider the stock tank the safer build.
Can I add a chiller to a DIY tub later?
Yes, and it is the most common DIY upgrade. Most stock tanks and barrels accept standard hose fittings with basic plumbing parts, and many chiller manufacturers sell the unit standalone. Size the chiller to your tub's actual water volume and your climate; an undersized chiller on a poorly insulated DIY tub is the classic disappointment. Check that the chiller's flow requirements match whatever pump you use.
How long does a DIY plunge setup last?
It depends entirely on the build. A poly stock tank with a chiller and decent filtration can run for years; a chest freezer conversion may last a season or several depending on execution. The vessel usually outlasts the accessories: pumps, seals, and DIY covers are the parts that fail first. Budget for periodic replacement of the wear items rather than treating the build as finished.
Does a DIY setup need filtration?
It needs it more than a purpose-built tub, not less. Without filtration, ice-cooled DIY water typically needs changing every few days, which becomes the chore that ends the habit. A basic pond pump with a filter ($50 to $150) extends water life dramatically and is the single highest-value upgrade to any DIY build. Whatever the setup, showering before plunging keeps the water cleaner longer.
Will a DIY tub affect my home's resale or rental value?
A stock tank in the backyard is easily removed and affects nothing. A permanently plumbed DIY installation (concrete pad, buried lines, electrical work) should be evaluated like any home improvement: quality work in appropriate locations is neutral to positive, while rough work can read as a liability to buyers. Renters should keep everything reversible and confirm the installation with the landlord in writing.
This content is informational only and does not constitute medical advice. Consult a qualified professional regarding health decisions.