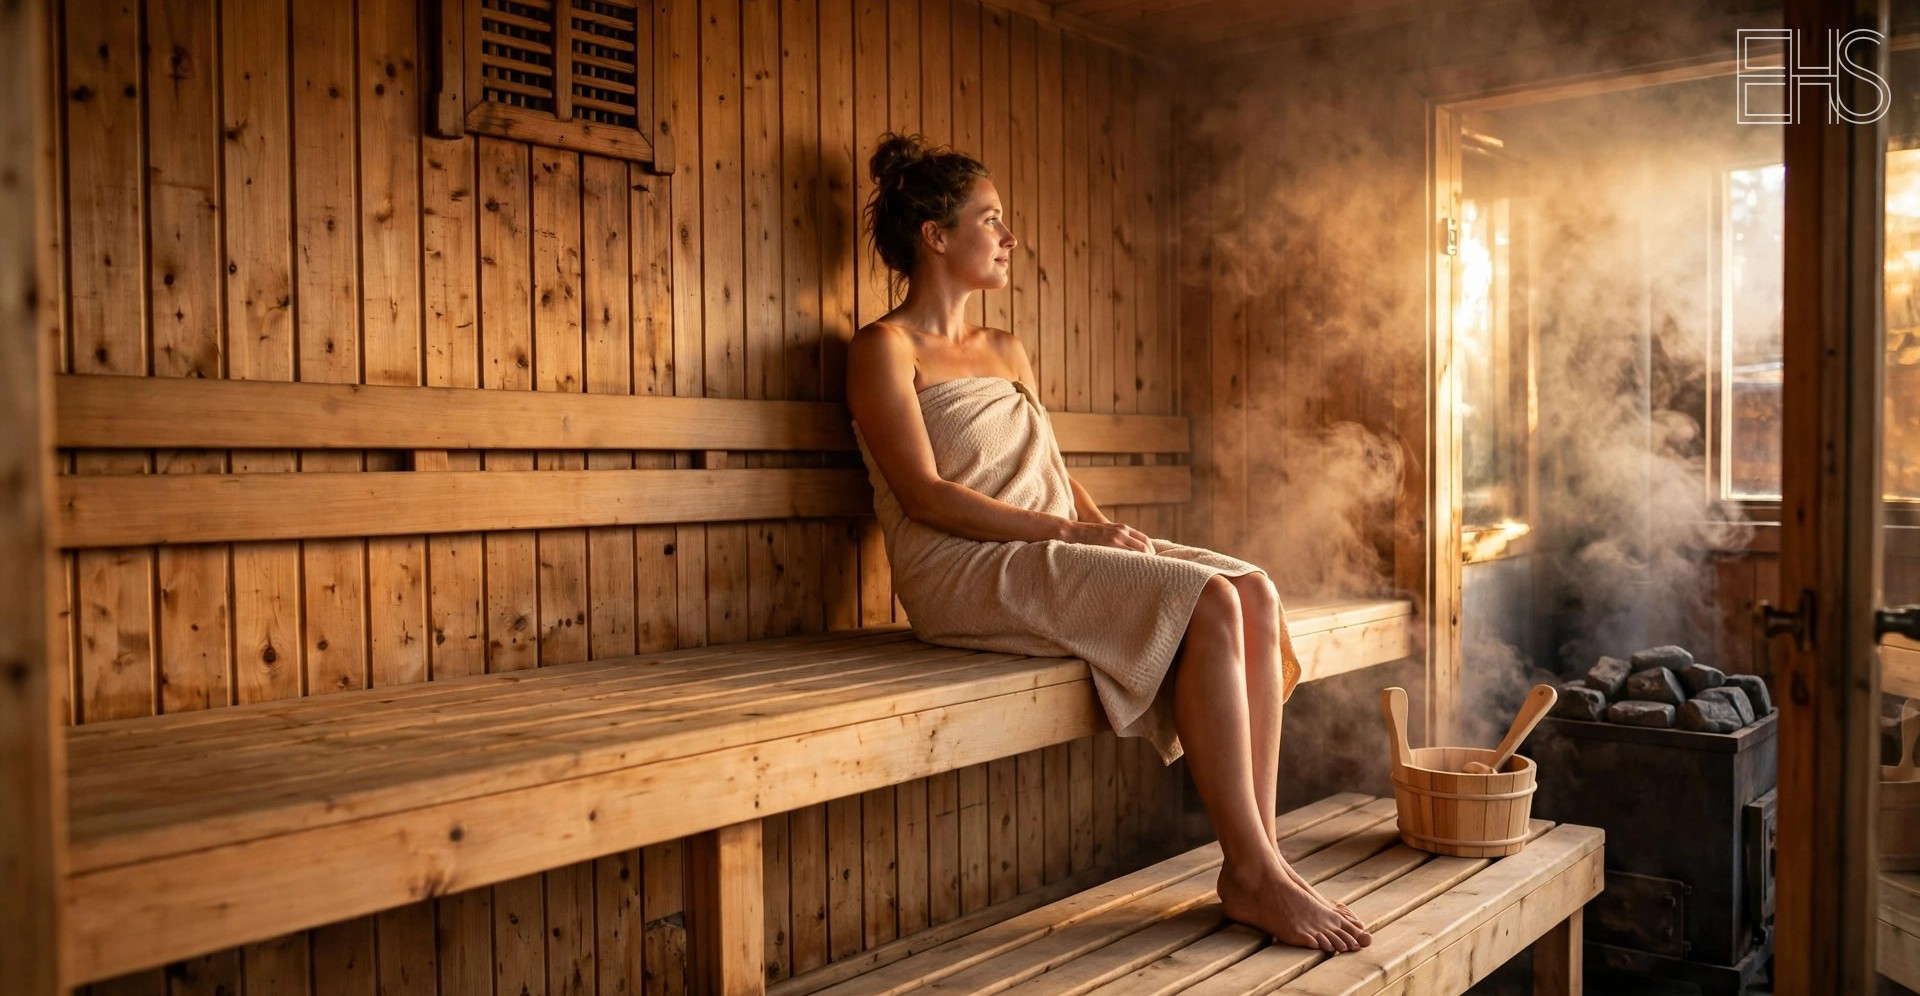
A sauna is a wooden room that gets very hot, and hot wood behaves differently from cool wood. It expands, releases moisture, and changes character with every heating cycle. Ventilation manages all of this: fresh air for the people inside, even heat from floor to ceiling, and thorough drying afterward so the wood survives for decades. Where the vents go, how big they are, and the routines that separate saunas that last from saunas that smell musty by year three: that is what this guide covers.
Key takeaways - Airflow does three jobs: breathable air during sessions, even heat distribution, and complete drying afterward. - The classic layout is a low fresh-air intake near the heater plus an adjustable exhaust on the opposite wall, driving a gentle convective loop. - Wood-burning stoves need generous airflow for combustion; infrared cabins need much less, but still need a fresh-air path and a drying routine. - Adjustable vents beat fixed holes. Sessions and drying want different airflow, so the vents should change with the job. - The drying routine after a session protects the wood and the room: open vents and door, and confirm the interior is dry before closing up.
What Ventilation Actually Does in a Sauna
Ventilation serves three purposes, on different timescales.
Breathable air. Occupants consume oxygen and build up carbon dioxide and exhaled moisture. Without replacement air, the room feels stuffy and sessions end early. Good ventilation keeps the air clean without cold drafts.
Even heat. Air movement spreads warmth through the room. Without it comes the classic failure: a scorching ceiling and a lukewarm foot level. A ventilated sauna heats more evenly, which makes the lower bench positions comfortable.
Drying afterward. Every session leaves moisture behind: sweat on the benches, humidity in the air, dampness in the floor boards. Wood that stays damp develops mold and odor, and the structure degrades. The vent system evacuates humid air afterward, letting residual heat dry the room. This is the job that decides the sauna's lifespan, and the one most owners forget to plan for.
The Standard Two-Vent Layout
The most common arrangement in a home sauna uses two openings working as a pair.
The intake (supply vent) sits low, near the heater. Fresh air enters at ankle level, gets warmed by the stove, and rises.
The exhaust sits high on the far wall or in the ceiling, and it should be adjustable. Warm, moist air exits through it.
Together they form a convective loop: cool air in low, spent air out high. The loop runs on the heat itself, with no fan required in most home saunas: crack the exhaust partway during sessions for comfort, then open both vents fully afterward to purge humidity. For the wider installation picture, our sauna installation guide covers electrical and placement alongside ventilation planning.
Vent Sizing and Placement
Vents must be large enough to move real air, and placement determines whether the loop forms. The table below pairs vent diameter with sauna size from typical manufacturer guidance. It is a sizing starting point, not a code specification.
| Sauna size | Intake diameter | Exhaust diameter |
|---|---|---|
| 2 to 3 people (small) | 4 inches | 4 inches, adjustable |
| 4 to 5 people (medium) | 5 inches | 5 inches, adjustable |
| 6 to 8 people (large) | 6 inches | 6 inches, adjustable |
| 9+ people or commercial | 8 inches or two 6-inch vents | 8 inches or two 6-inch vents, adjustable |
A few placement principles matter more than exact inches: keep the intake low and near the heat source so incoming air warms immediately; keep the exhaust high and away from the intake so air crosses the room instead of short-circuiting; make at least one vent adjustable, because the airflow that keeps a session comfortable is not the airflow that dries the room; and never exhaust into a wall cavity, since moisture vented into structure becomes rot and mold inside the building.
Gravity vs. Mechanical Ventilation
Most home saunas ventilate by gravity: hot air rises and pulls the loop along with no fan, no power, and no noise. A small fan in the exhaust path helps with long duct runs to the outdoors, very tight builds that resist gravity flow, and indoor saunas in finished rooms where a timer-driven fan keeps the surrounding room dry.
The Finnish tradition has its own convention: the supply vent sits high, above the stove, and the exhaust sits low on the opposite wall, often below the benches, sometimes with a small fan. This pulls warm air down through the room and delivers fresh air where bathers sit. It is a legitimate alternative to the low-in, high-out layout, built on the same principle: intake and exhaust separated so air crosses the occupied zone. Our Finnish sauna traditions guide covers the löyly culture behind this practice.
Ventilation by Sauna Type
Different heaters and room types change what the ventilation must handle. The table below compares the main categories by what their airflow systems need to do, drawn from manufacturer guidance and common build practice.
| Sauna type | What the vents must handle | Typical setup |
|---|---|---|
| Traditional electric | Fresh air, even heat, post-session drying | Low intake near the stove, adjustable high exhaust, gravity flow |
| Wood-burning stove | All of the above, plus combustion air for the fire | Larger intake (the stove consumes air), chimney through the roof, adjustable exhaust |
| Infrared cabin | Much lower heat and moisture, but fresh air and drying still apply | A small fresh-air vent or louver, plus airing the cabin after use |
| Steam room (separate category) | Very high humidity, tiled surfaces | Dedicated mechanical exhaust with a floor drain; an HVAC project, not a wood-sauna vent plan |
Wood-burning saunas are the most ventilation-hungry. The fire consumes room air, so the intake must serve both the bathers and the stove. An undersized intake shows up as a sluggish fire and a close-feeling room even with the door open. Size it generously and keep the chimney inspected.
Infrared cabins are often sold as needing no ventilation at all. That is half true: they produce less moisture and less heat stress on the wood, so the aggressive airflow of a traditional sauna is unnecessary. But a sealed box still accumulates exhaled air and residual warmth. A modest vent and leaving the door open after sessions is enough. See our infrared sauna buying guide for the broader infrared decision framework.
Outdoor cabins need screened vents against insects and hooded covers against wind-driven rain.
Running the Vents During a Session
Vent settings are not set-and-forget.
Heat-up: close or nearly close the exhaust while the sauna warms. A wide-open exhaust during heat-up lets warm air escape early, wasting energy and time.
During the session: open the exhaust partway, enough that the air feels fresh but the temperature holds. More occupants means more exhaled air, so open a little more.
After the session: open everything fully, intake wide, exhaust wide, door left ajar. Let residual heat drive humid air out. Drying is done when interior surfaces feel dry to the touch, typically 30 to 60 minutes after the heater is off.
If a contrast station is planned nearby, coordinate the drying: the humidity a sauna releases afterward is what a neighboring cold area does not want. Our home contrast setup guide covers planning both stations together.
The Mistakes That Cause Most Ventilation Problems
- Omitting the intake. A room with only an exhaust pulls replacement air through whatever gaps it finds: cold drafts at ankle level, patchy heat. The pair is the system.
- Placing both vents high. With no low intake, air never circulates properly. The ceiling stays hot and the footwell stays cool, and the room dries poorly.
- Treating the sauna like a sealed thermos. The instinct to seal every gap and lock heat in is backwards. Sealed boxes trap moisture; ventilated boxes dry out and last for decades.
- No drying routine at all. The most common failure is a habit, not a hardware error. If the door closes and the room sits damp until tomorrow, the outcome matches having no vents. The routine is part of the system.
Indoor Installations and the Surrounding Room
A sauna inside the house ventilates into the house's environment. The humid air expelled during drying goes somewhere, and that somewhere should not be a finished ceiling cavity. Practical measures: duct the exhaust to the outdoors where the build allows, or crack a nearby window during the drying phase. A small timer-driven exhaust fan in a musty-prone room is cheap insurance, and the floor should tolerate moisture: tile, sealed concrete, or a proper membrane under wood.
What Ventilation Components Cost
Ventilation is one of the least expensive parts of a sauna project. Adjustable wall vents and louvers typically run from around $15 to $60 each; short duct runs with hooded exterior caps add perhaps $50 to $150 in materials; a small exhaust fan usually lands between $40 and $150, plus electrician time if it needs new wiring. These are approximate ranges from common retail listings; verify current rates before buying.
A Plain-English Safety Note
Heat exposure is not for everyone. Sauna sessions raise heart rate and body temperature, and they dehydrate. Skip extended sessions during pregnancy, with unstable blood pressure, or with uncontrolled heart symptoms. Cool down if you feel dizzy or unwell, and never sauna alone if you are new to it. This guide is general information, not guidance for your situation.
Frequently Asked Questions
Does a sauna need ventilation if it is used only occasionally?
Yes. Occasional use does not protect the wood; long damp intervals between uses give mold more time to establish. A monthly sauna needs the same drying routine as a daily one: after every session, open the vents and the door and let the room dry completely.
Where exactly should the intake and exhaust vents go?
Place the intake low on the wall near the heater, about 4 to 6 inches in diameter for a typical home sauna, and the exhaust high on the far wall or ceiling with an adjustable cover. The separation is what matters: air should cross the room from the low intake to the high exhaust.
How big should sauna vents be?
For home saunas, 4-inch vents suit 2 to 3 person rooms, 5-inch vents suit 4 to 5 person rooms, and 6-inch vents suit 6 to 8 person rooms, with the exhaust adjustable in each case. These reflect typical manufacturer guidance, not building code, so confirm against your maker's specifications before cutting holes.
Do infrared saunas need ventilation?
Less than traditional saunas, but yes, in a modest form. Infrared cabins run cooler and produce less moisture, so they do not need a sized intake-and-exhaust system. They need a fresh-air path, often just a louver or small vent, plus airing the cabin after sessions by leaving the door open.
Should vents be open or closed while the sauna heats up?
Closed or nearly closed. An open exhaust during heat-up lets warm air escape before the room reaches temperature, which wastes energy and time. Once at temperature, open the exhaust partway for fresh air during the session, then open everything fully afterward for drying. Adjustable dampers make the three positions easy.
Can I vent a sauna into my attic or wall cavity?
No. Sauna exhaust air is hot and humid, and venting it into an enclosed cavity deposits that moisture into insulation, framing, and sheathing, where it causes rot and mold out of sight. The exhaust path must terminate in open air, ideally outdoors through a hooded exterior vent.
This article is for informational purposes only and does not provide medical advice or guaranteed outcomes.